Knowledge Base
How to Create a Bootable Flash Drive with Ghost64
April 23, 2018
Tags:
Warning: Follow the procedure below will erase all previous data on your USB flash drive. Please makes sure to back up any important data or settings before continuing.
To create a bootable USB for flashing BIOS, re-imaging a drive or capturing an image, you will need to follow the directions below.
First place Ghost64.exe and the Ghost image file provided onto your desktop. Insert a USB flash drive to your computer then open Ghost64.exe.
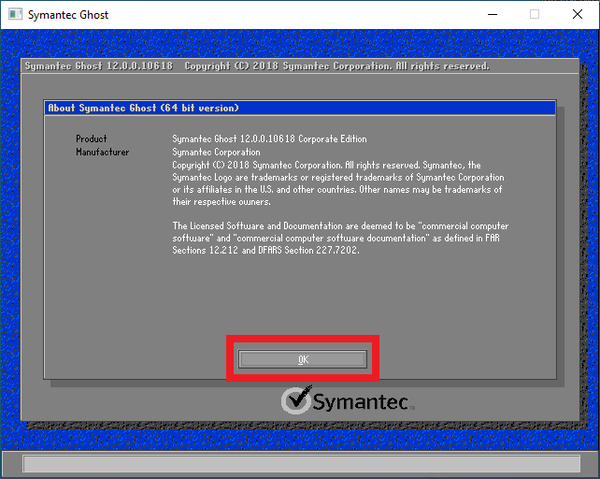
Once Ghost64.exe is opened, click OK, on the splash screen, to continue.
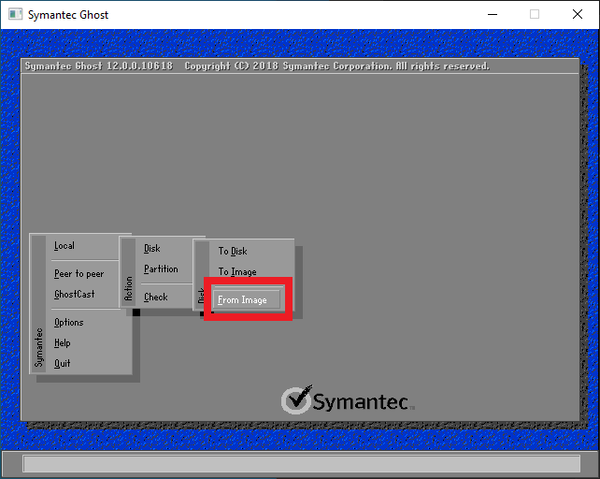
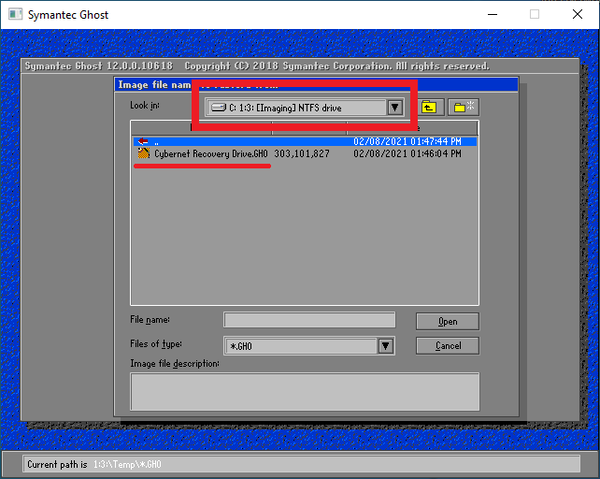
At the next screen, you will be asked for the image to restore from. Use the drop-down menu at the top of the window to navigate to the Directory that the ghost image is located in. Here you will find a file with the extension of .GHO.
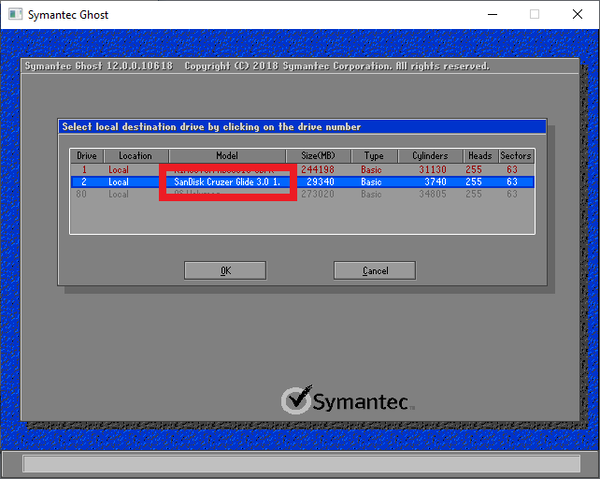
After selecting the .GHO file a new window will ask for the destination drive. The USB flash drive should be highlighted. Verify this is correct and click "Okay." Important: If you have a secondary HDD, make sure that HDD is not selected.
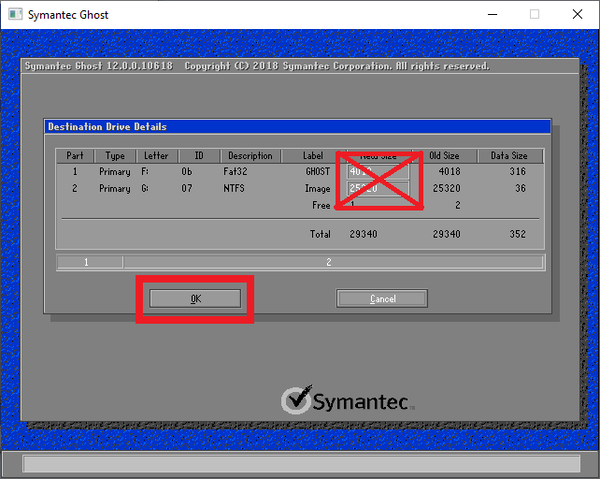
You do not need to make any changes at the Destination Drive Details Window. Select Ok to move on.
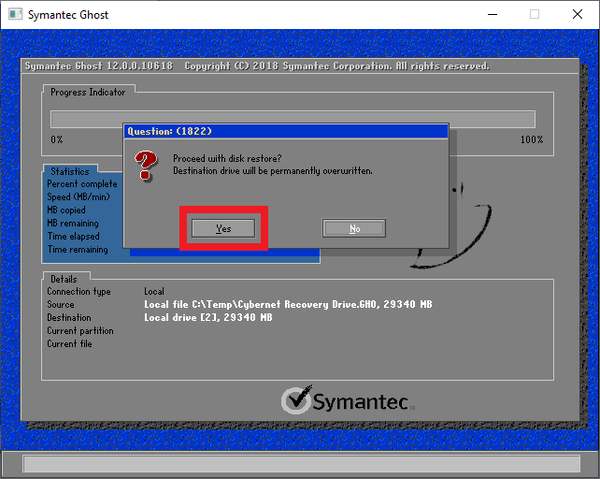
Next you will be prompted to verify that you want to proceed with the image restore. Select Yes to start the restoration process.
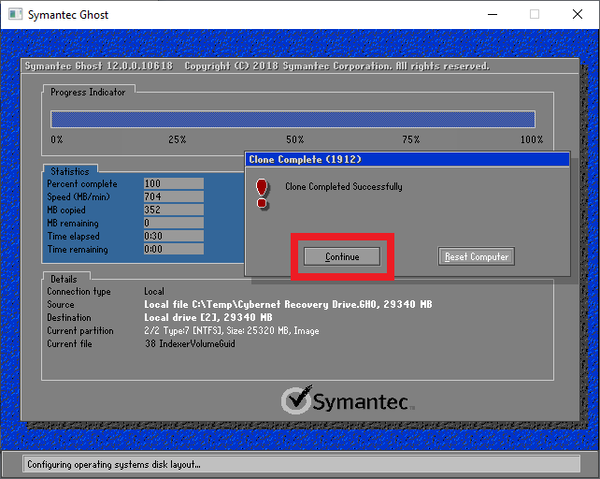
When the Restoration process is complete you will be asked to Continue or Reset Computer. Select Continue to return to the menu.
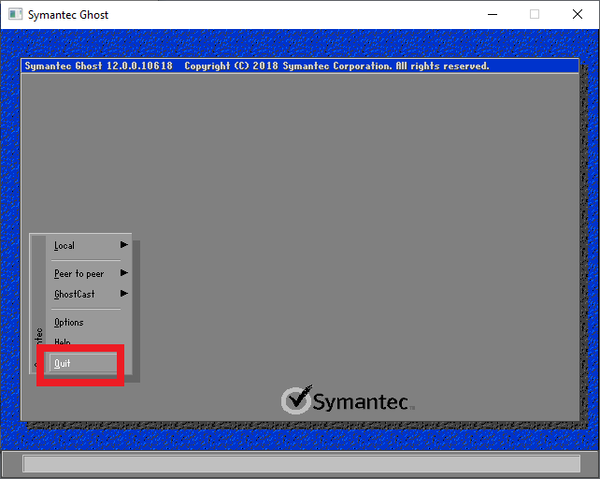
Select Quit to leave the Ghost64 program.
Related Products


Related Articles
How to Capture an Image Using a Cybernet Recovery Drive
The Cybernet Recovery Drive is a bootable USB thumb drive that contains the ...
View Article
How to Restore an Image Using a Cybernet Recovery Drive
The Cybernet Recovery Drive is a bootable USB flash drive that contains the ...
View Article